To schedule a session in Hatch using the scheduler,
- Select Manage Schedule from the navigation bar on the left-hand side of your screen.
- Hover your mouse over the Schedule button on the top right side and a dropdown menu will appear.
- From this dropdown, select Session.

- In the Attendees step, you can add an existing patient account, a guest account, a provider, or a new patient account.

- Adding an existing Patient account - When searching for patients, you can see results in the autocomplete dropdown. The dropdown menu will also show distinguishing factors between patients such as date of birth, email, the notification phone number listed on the patient's account, and other key patient information.
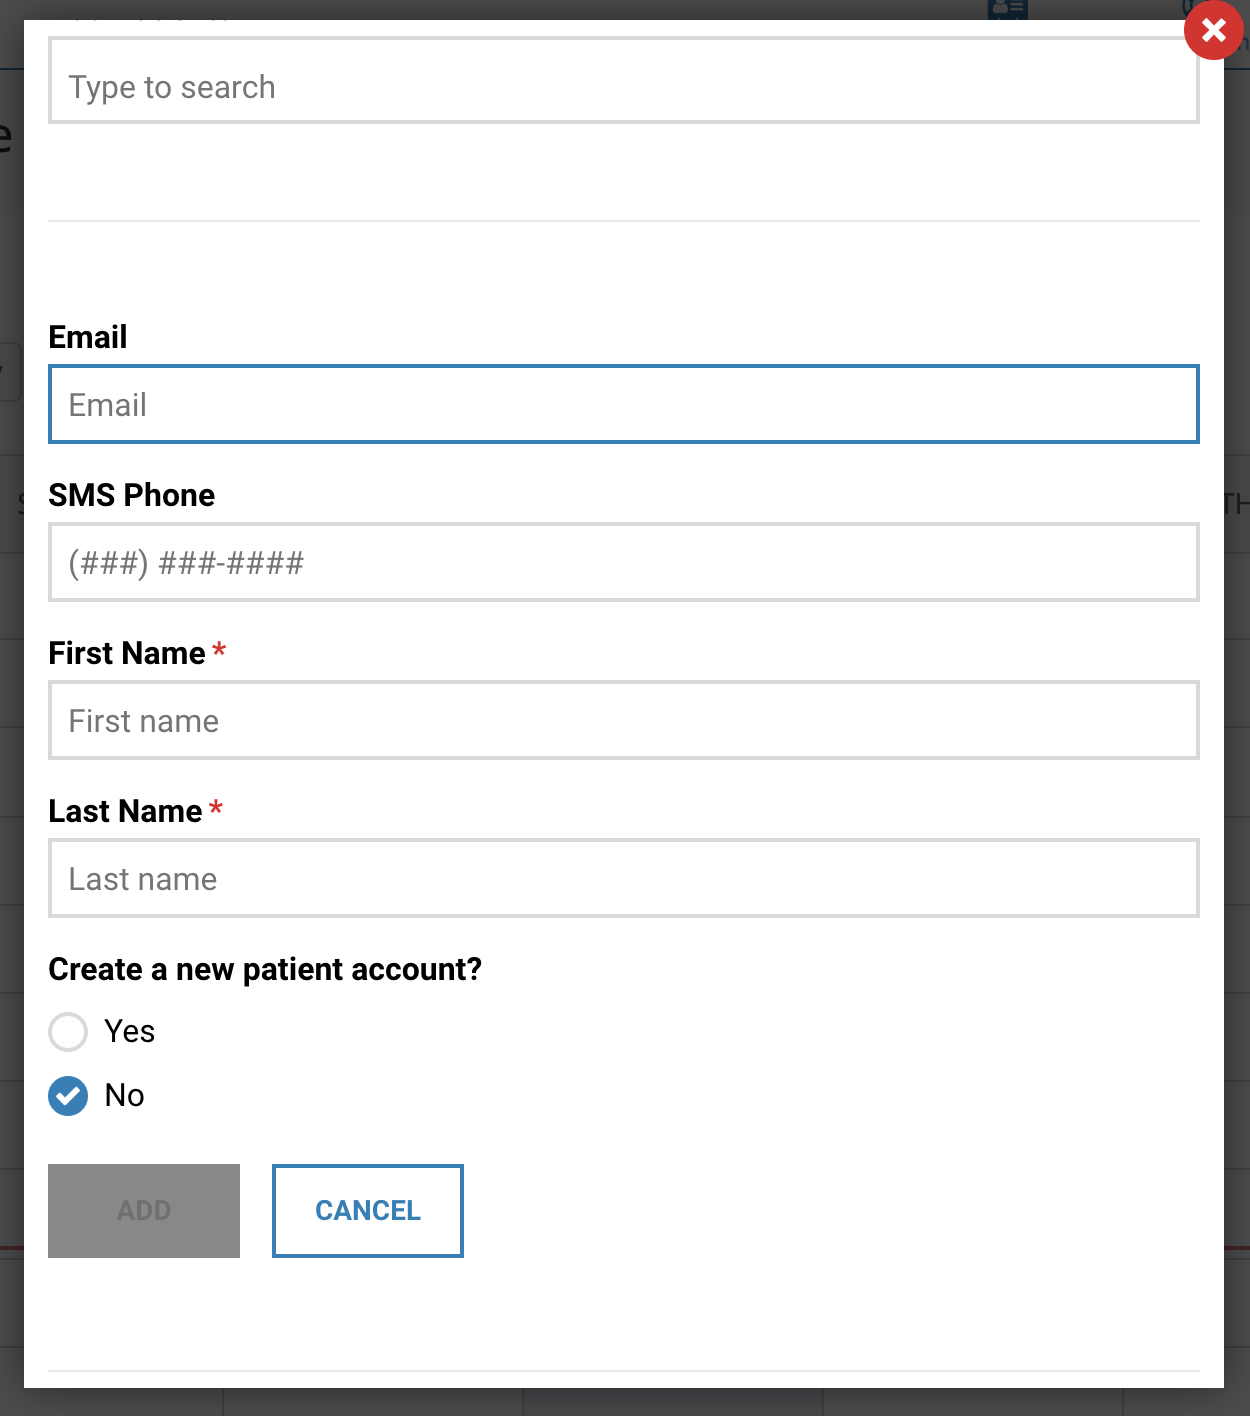
- Adding a Guest account - To add a guest account, simply click the Add another guest button. From here, you can fill in their contact information. When you're done, be sure to click Add or the user's information will not be saved.
- Adding a Provider -The Add Providers & Staff section is where you can add yourself or any other teammates necessary.
- Adding a new Patient account - You can also choose to create a new patient account by selecting Add another guest and checking Yes under "Create a new patient account?".
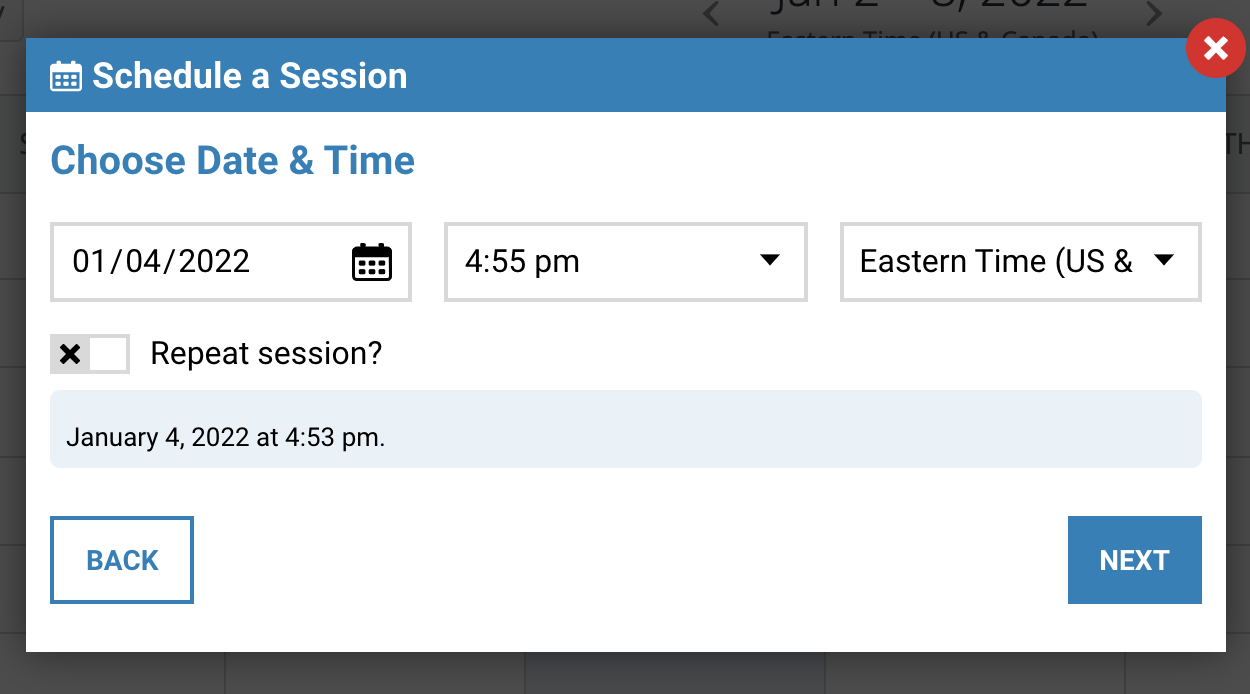
- Next, select the Time, Date, and Timezone, as well as whether this session will repeat. Remember that if you do choose to repeat the session, providing an end date will help keep your calendar from slowing down.
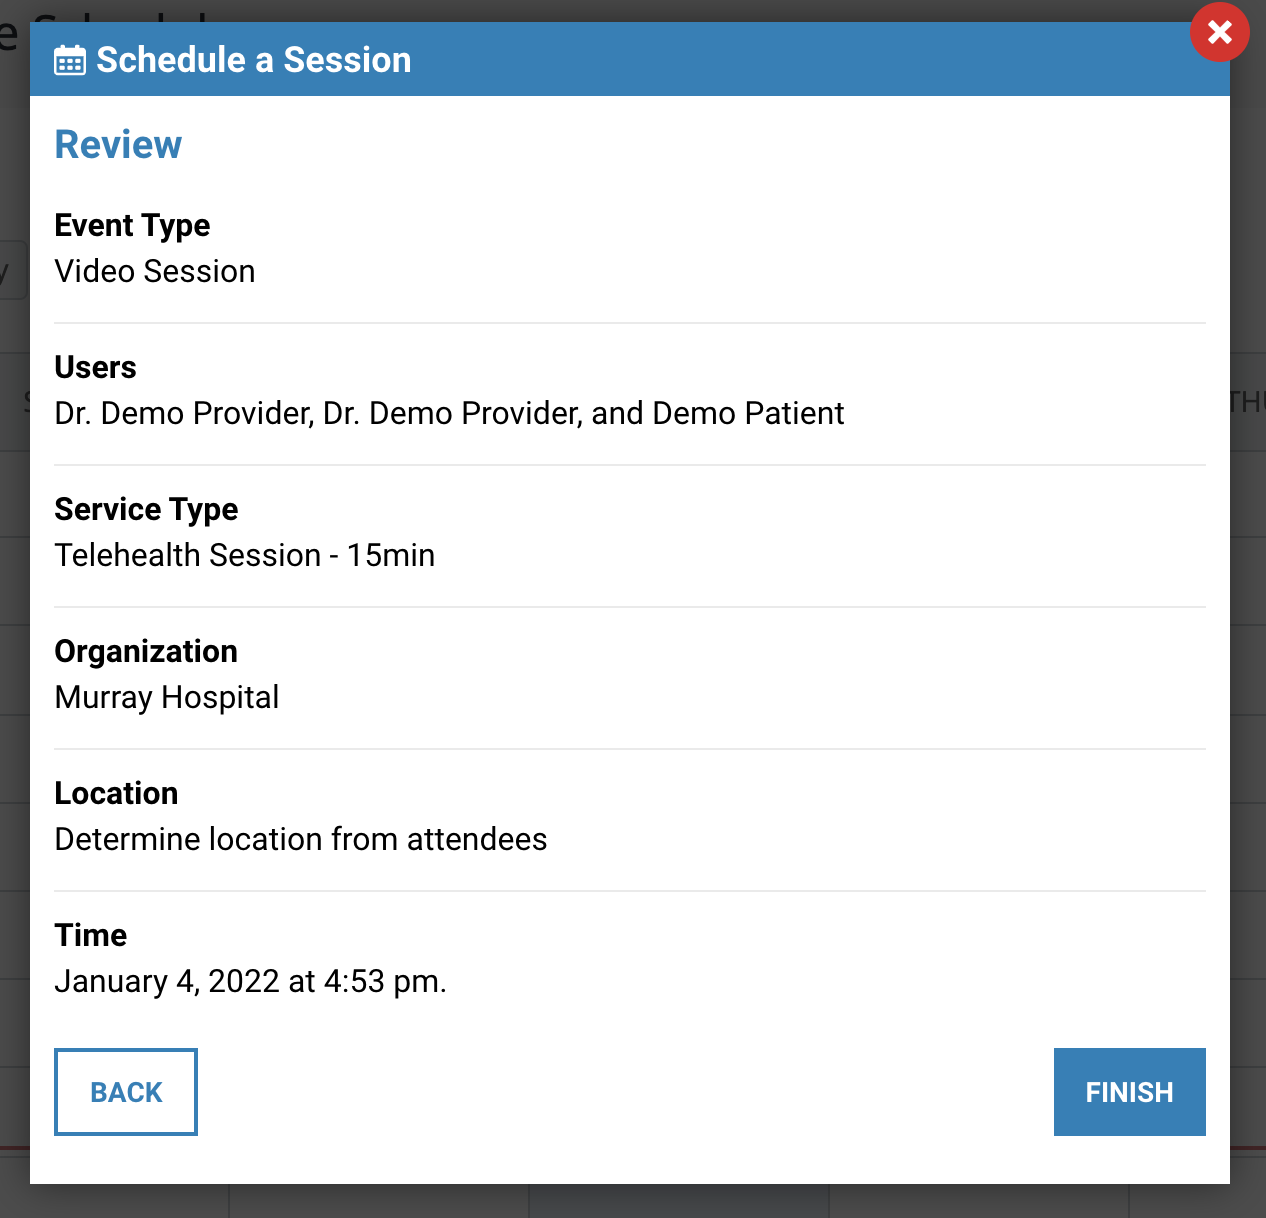
- You will then be prompted to choose an Organization, Location, and Service Type. This is primary used for reporting purposes, but it is also important to specify the correct organization in case someone else within that suborg needs to join, such as an admin or scheduling facilitator account.

- Finally, you can review the proposed session before submitting it and adding the session to your calendar.
Comments
0 comments
Please sign in to leave a comment.